
All About Adhesives: Our Guide to Using Adhesive Stencils
You may be familiar with our classic mylar stencils, but do you know about our custom adhesive stencils? They’re a little bit different, let’s learn how!
First off, adhesive stencils are sticky on the back. We use a material called clay-coated polyethylene, which is like a thick, tacky vinyl. Because the material is so thick, it can be used a few times over and over. While not quite as durable as mylar, which can be used almost indefinitely, the adhesive is much more reusable than a traditional sticker.
Pros of adhesive stencils:
- Reusable around 4-5 times
- Can be used on curved surfaces
- Yields crisp edges
So if you’re looking for a method that is more controllable that the stiff, slippery texture of mylar, try out a custom adhesive stencil.
Step 1: Peeling off the adhesive backing
The main difference in using adhesive stencils instead of mylar is having to remove the adhesive stencil from its backing. Here’s our video on how to do that:
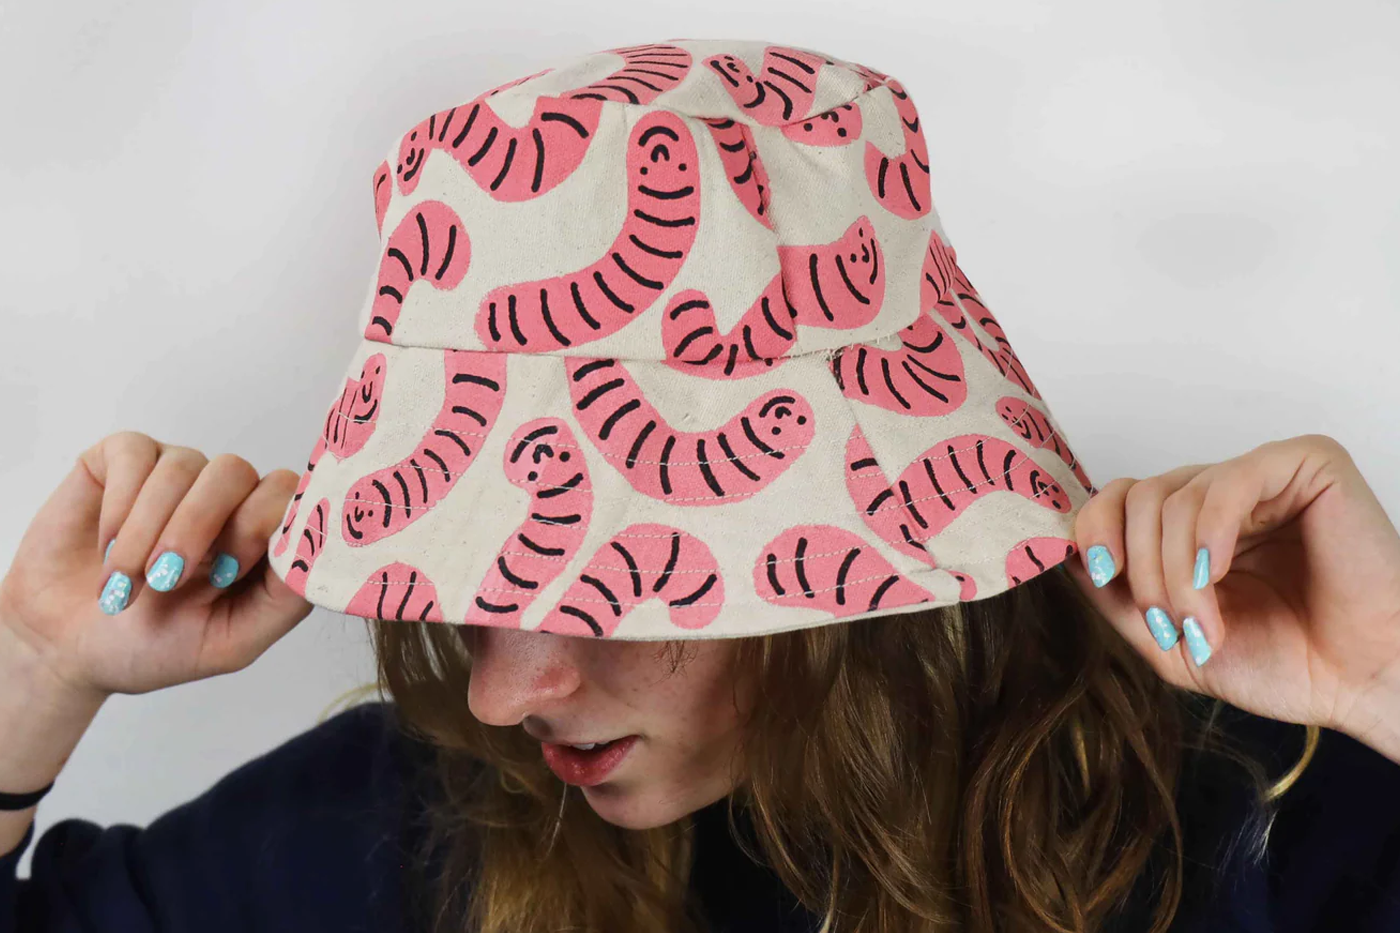
Apart from removing the backing, the methods for painting are very similar to mylar stencils. You can use spray paint, or even opt for a paintbrush. Since the stencil is sticky, using a paintbrush won’t push around the stencil. You can also dab paint, especially if you are using an adhesive stencil on fabric like we did in this t-shirt tutorial.
Step 2: Smooth down the stencil
In order to make sure the stencil is completely stuck to your surface, run your hands or another smooth object over the top to make sure there aren’t any areas where paint can bleed.

Step 3: Paint away!
For this piece, I used spray paint. Use whatever type of paint you like here!

Step 4: Peel!
Just like any other stencil, you can wait a moment for your paint to dry down then peel up the stencil. The adhesive makes this step extra satisfying.

Now I know what you’re wondering: Can you paint multiple layers with adhesive stencils? The answer is YES! Check out what we did:

If doing multiple layers, make sure the paint underneath is completely dry, or else the adhesive will pull up the paint.
I carefully placed one stencil over the other, and moved it into place before smoothing it down again.


I finished off the second layer with a metallic spray and voila, we’ve not only used an adhesive stencil but we’ve used two!

As always, feel free to contact us if you have any questions about any of our products or how to use them.

Leave a comment
This site is protected by reCAPTCHA and the Google Privacy Policy and Terms of Service apply.